Insert a Table
-
-
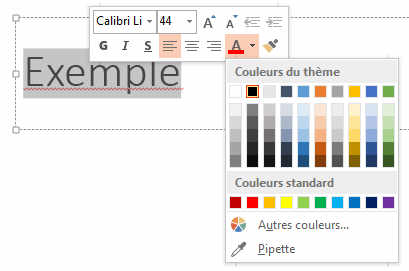
Once this is done, the table will be create. An ugly blue looking table in the middle of your slide.
You must now move it to where you want it. Do this by clicking on an edge but not on a corner and a cross will appear that allows you to move the table.
Powerpoint opens the ribbon TABLE TOOL design and layout. With these, you can change all the parameter, aspects of your Powerpoint table, like the colour, the thickness, the fonts, etc....

The next step is to enter the values into your table. If you do not have enough columns or rows, then again the TABLE TOOL Layout, will allow you the add, remove, insert colomns and rows.

-
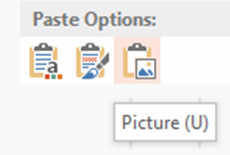
- On an empty slide, click on the icon to insert a table in the middle
of the slide.
-
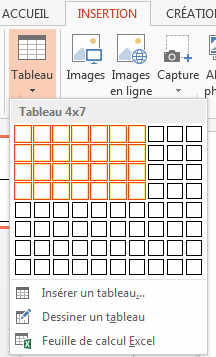
By doing so, a small window will open and ask you how many colomns and rows you need. Enter the values and press enter or click OK.

-
Here the small window.
As mentioned in point 1, the table will be inserted, but it will take all the page and be centered.
You can now change its shape, colours, format with the Table Tool Ribbons.
-
- The third method is to create a table with
Microsoft EXCEL. The once you are satisfied with your table, you can
select the cells you want to copy, COPY them and PASTE them into your
presentation.
- The advantage is that when you change the excel data, the changes will automatically change in your PowerPoint presentation.
- the disadvantage is the same.... may be you do not want new
changes in your EXCEL spreadsheet to be reflected in your
presentation.
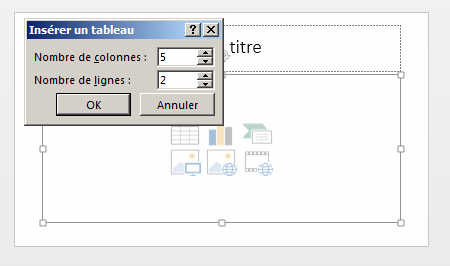
- The solution is to paste your table as a PICTURE. Do this by
right clicking in the slide, the following menu appears. Select
picture.
- done. The table will not change anymore.
- The solution is to paste your table as a PICTURE. Do this by
right clicking in the slide, the following menu appears. Select
picture.
Trucs et astuces 1
Trucs et astuces 2